WHAT IS SCREENTONE PAPER?
Screentone paper is adhesive plastic sheets that make up a pattern or tone. They usually come in halftones which are dots in varying proximities that make shades of grey which are great for creating depth in an image. It is often used as a form of shading or texture for manga, (Japanese comics) cartoons or illustrations. Screen tone sheets are made to stick onto an area of an illustration that requires shading or texture.
* A simpler way to think of screentone paper is that it is semi transparent paper that is adhesive*
Below I will go step by step through how to apply screentone paper onto an illustration.
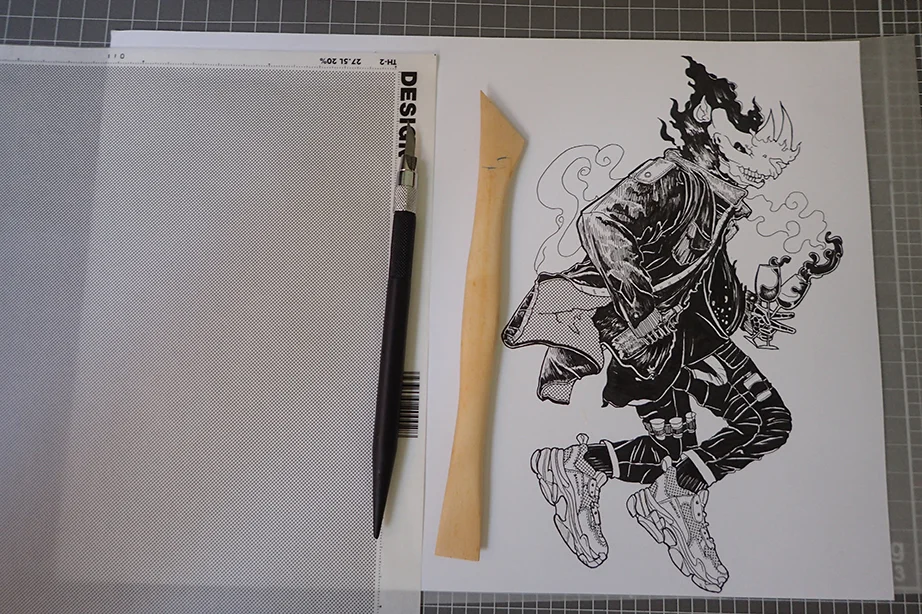
Materials:
- Screentone paper/sheets
- Deleter tone knife
- Hera pen / Screen tone pen
- Tracing paper (optional)
- Cutting mat
DELETER TONE KNIFE:
This knife's purpose is to scrape the screentone surface to create lighting or to remove excess tones.
It can also be used to cut the outline of the screentone sheet.

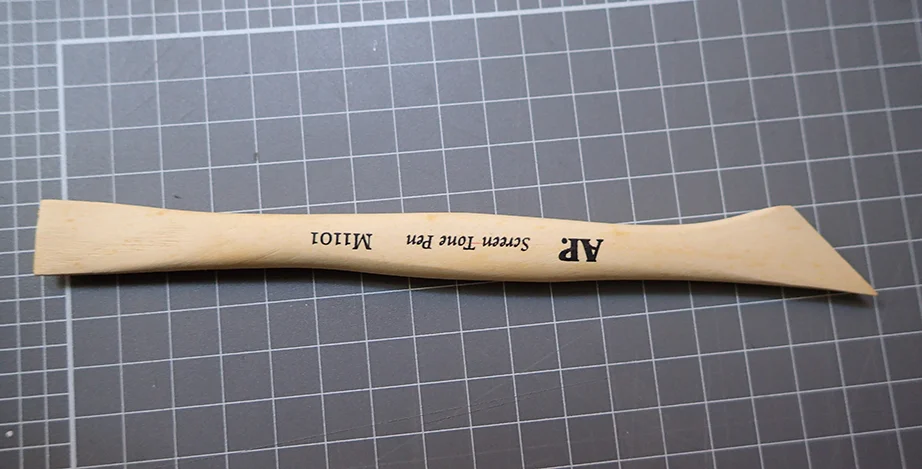
HERA PEN / SCREEN TONE PEN:
The hera pen is used to secure the screentone sheet onto the surface you are applying it to.
There are different looks for the hera pen, most common is the 'Tone Hera:' a flat almost rectangular sky blue hue tool. I'm using the Screen Tone Pen for this illustration.
SCREEN TONE PAPER:
It's like washi tape but its a whole sheet of it! semi see-through. There are many different textures and patterns you can get for this type of paper.

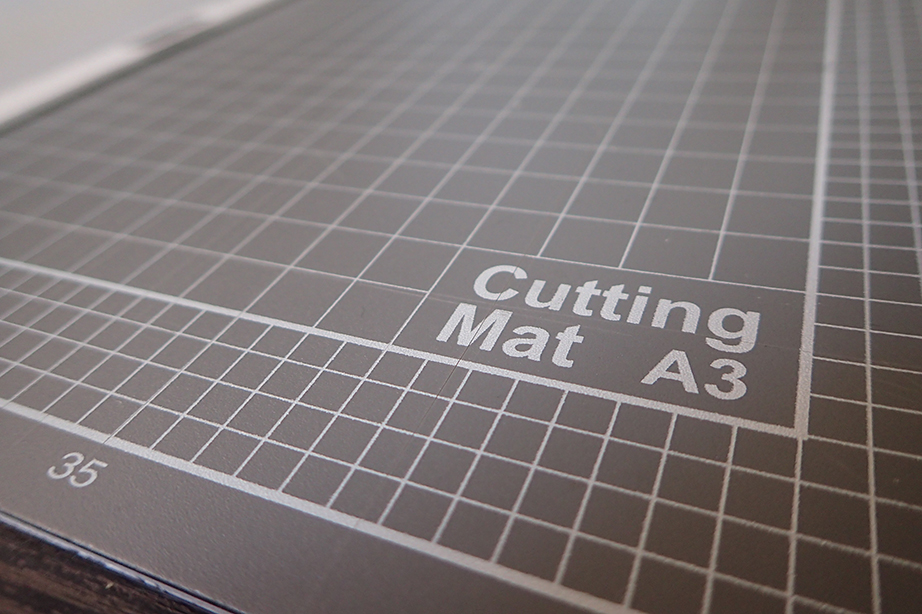
CUTTING MAT:
A cutting mat protects the table/desk of whichever surface you are working on whilst you cut the screentones out.
There are different kinds of cutting mats you can use. I am using an A3 cutting mat from Officeworks.
HOW TO USE SCREENTONE SHEETS:
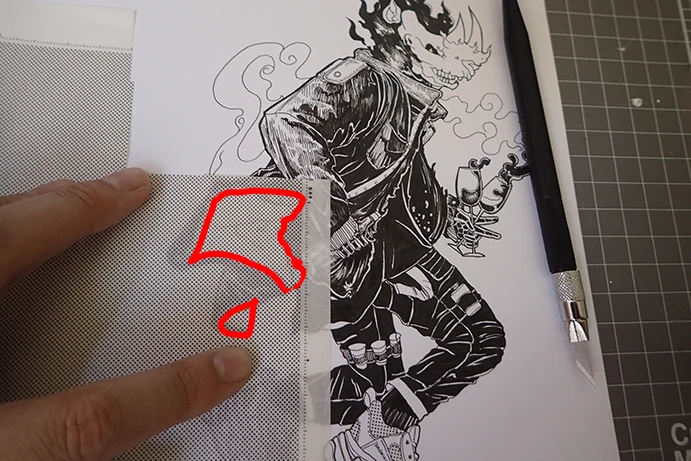
1. Decide the area you wish to apply the screentone paper to:
I want the inside of the jacket to have some texture as I don't want it to be stark white.
(I've indicated the areas I intend to have screentone on with red below)
2a. Outline the area you will be cutting around.

2b. Once you cut out the area you are working with align it to the illustration.
Pro tip: Always cut a bit more than needed around the area you will be working with. It is better to have more area to cut away at than less.
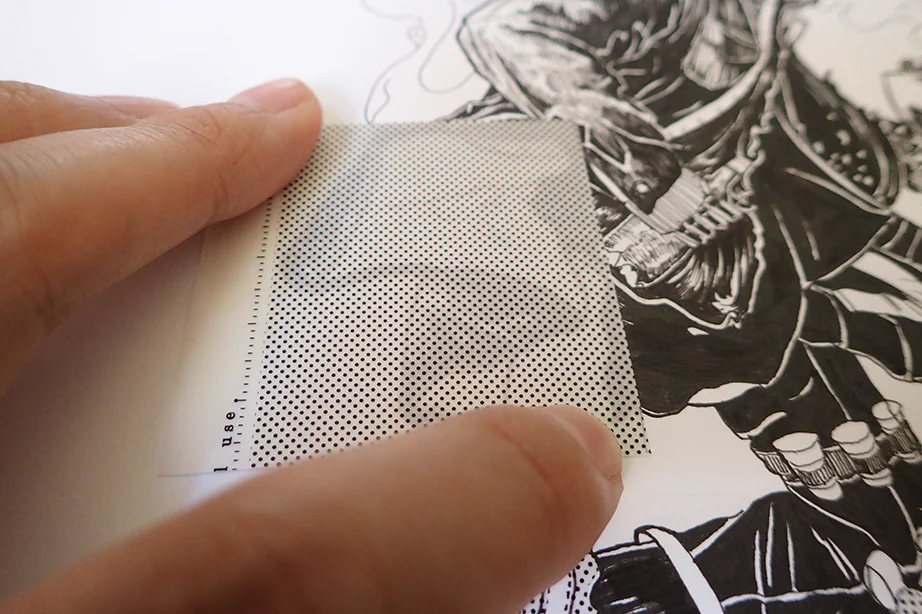
3. Peel the screentone sheet you've cut out and place it on the area you intend to have the screentone on.

4. Take out your hera pen and press it down ONLY on the areas you intend to keep, not the areas you intend to peel after cutting.
5. Cut out around the outline using the deleter tone knife and peel as you go.

6. Keep the peeled screentone paper! It's great to use it for smaller areas for the future!
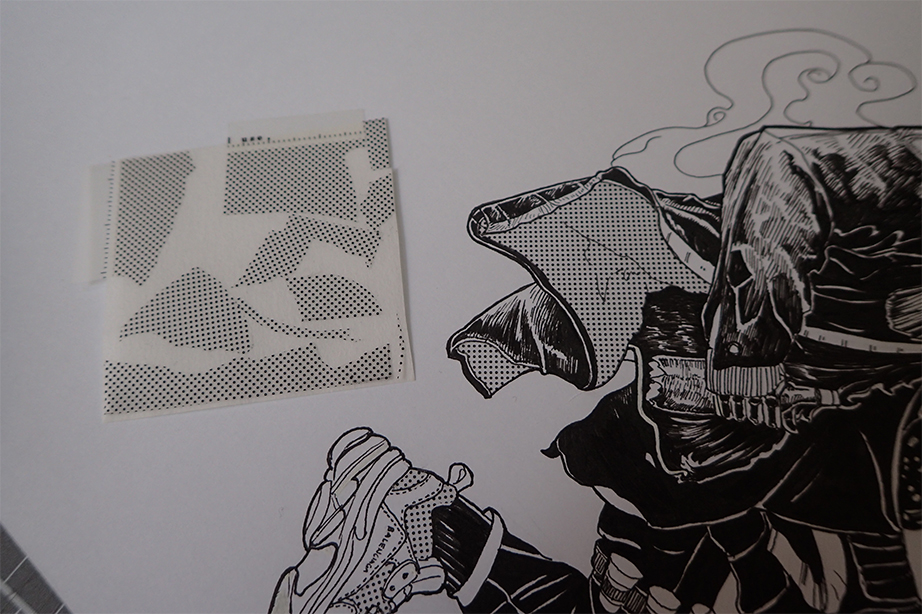
Below you can see in the left image that I have only cut around the excess outside of the jacket outline and in the image to the right I have cut the screentone paper in the jacket area and kept the excess on the sheet where we first removed it from.

* If there are any excess bits, you can use your small knife to scrape away tonal areas to create shading and lighting effects. * (Will go through this in more detail in another post)
7. Go over the final areas with the hera pen to make sure it sticks to the paper firmly.
*Pro tip: Place tracing paper on top of the illustration before using the hera pen for the best result in order to avoid damaging the screentone paper. *

AND WE'RE DONE!
Here's a before and after to see the results!

Before applying screen tone

After applying screentone
If you're interested in the character above, I have many more done in this style up for grabs as prints. Come check them out!
Thanks for following along with my tutorial! Go out there and make some awesome work!